BFF Bag Sew Along: Front Panel
Many folks appreciate a photo tutorial or video sew along to supplement the illustrated instructions. For very introverted reasons, I won’t be doing a video (calling all sewing Vloggers, here’s one for you!), but I quite love sharing pretty STILL LIFE photos here.
The BFF Bag shown throughout this series is the “right handed” style. It is made with quilting cotton for the main exterior. The butterfly print was a single fat quarter from my deep stash. The FQ was “block fused” with Pellon ShapeFlex/SF101 prior to cutting. (Block fusing refers to applying the interfacing before cutting the individual pattern pieces. This does use/waste more interfacing but saves on time (and potentially one’s sanity) when preparing several small pieces.) The lining is chambray and the accent binding is a cotton shirting. These two fabrics don’t have an obvious face, for which I apologize/don’t apologize. I would rather make a lovely bag for utility irl than a sample that will sit discarded. The zipper was sourced from Wawak, while the webbing and hardware came from ZipperValley. The pocket trim is a small scrap of waxed canvas.
As usual, RST = right sides together and WST = wrong sides together.
Once you’ve gathered your materials and cut out the pattern pieces, you’re ready to get started on the Front Panel.
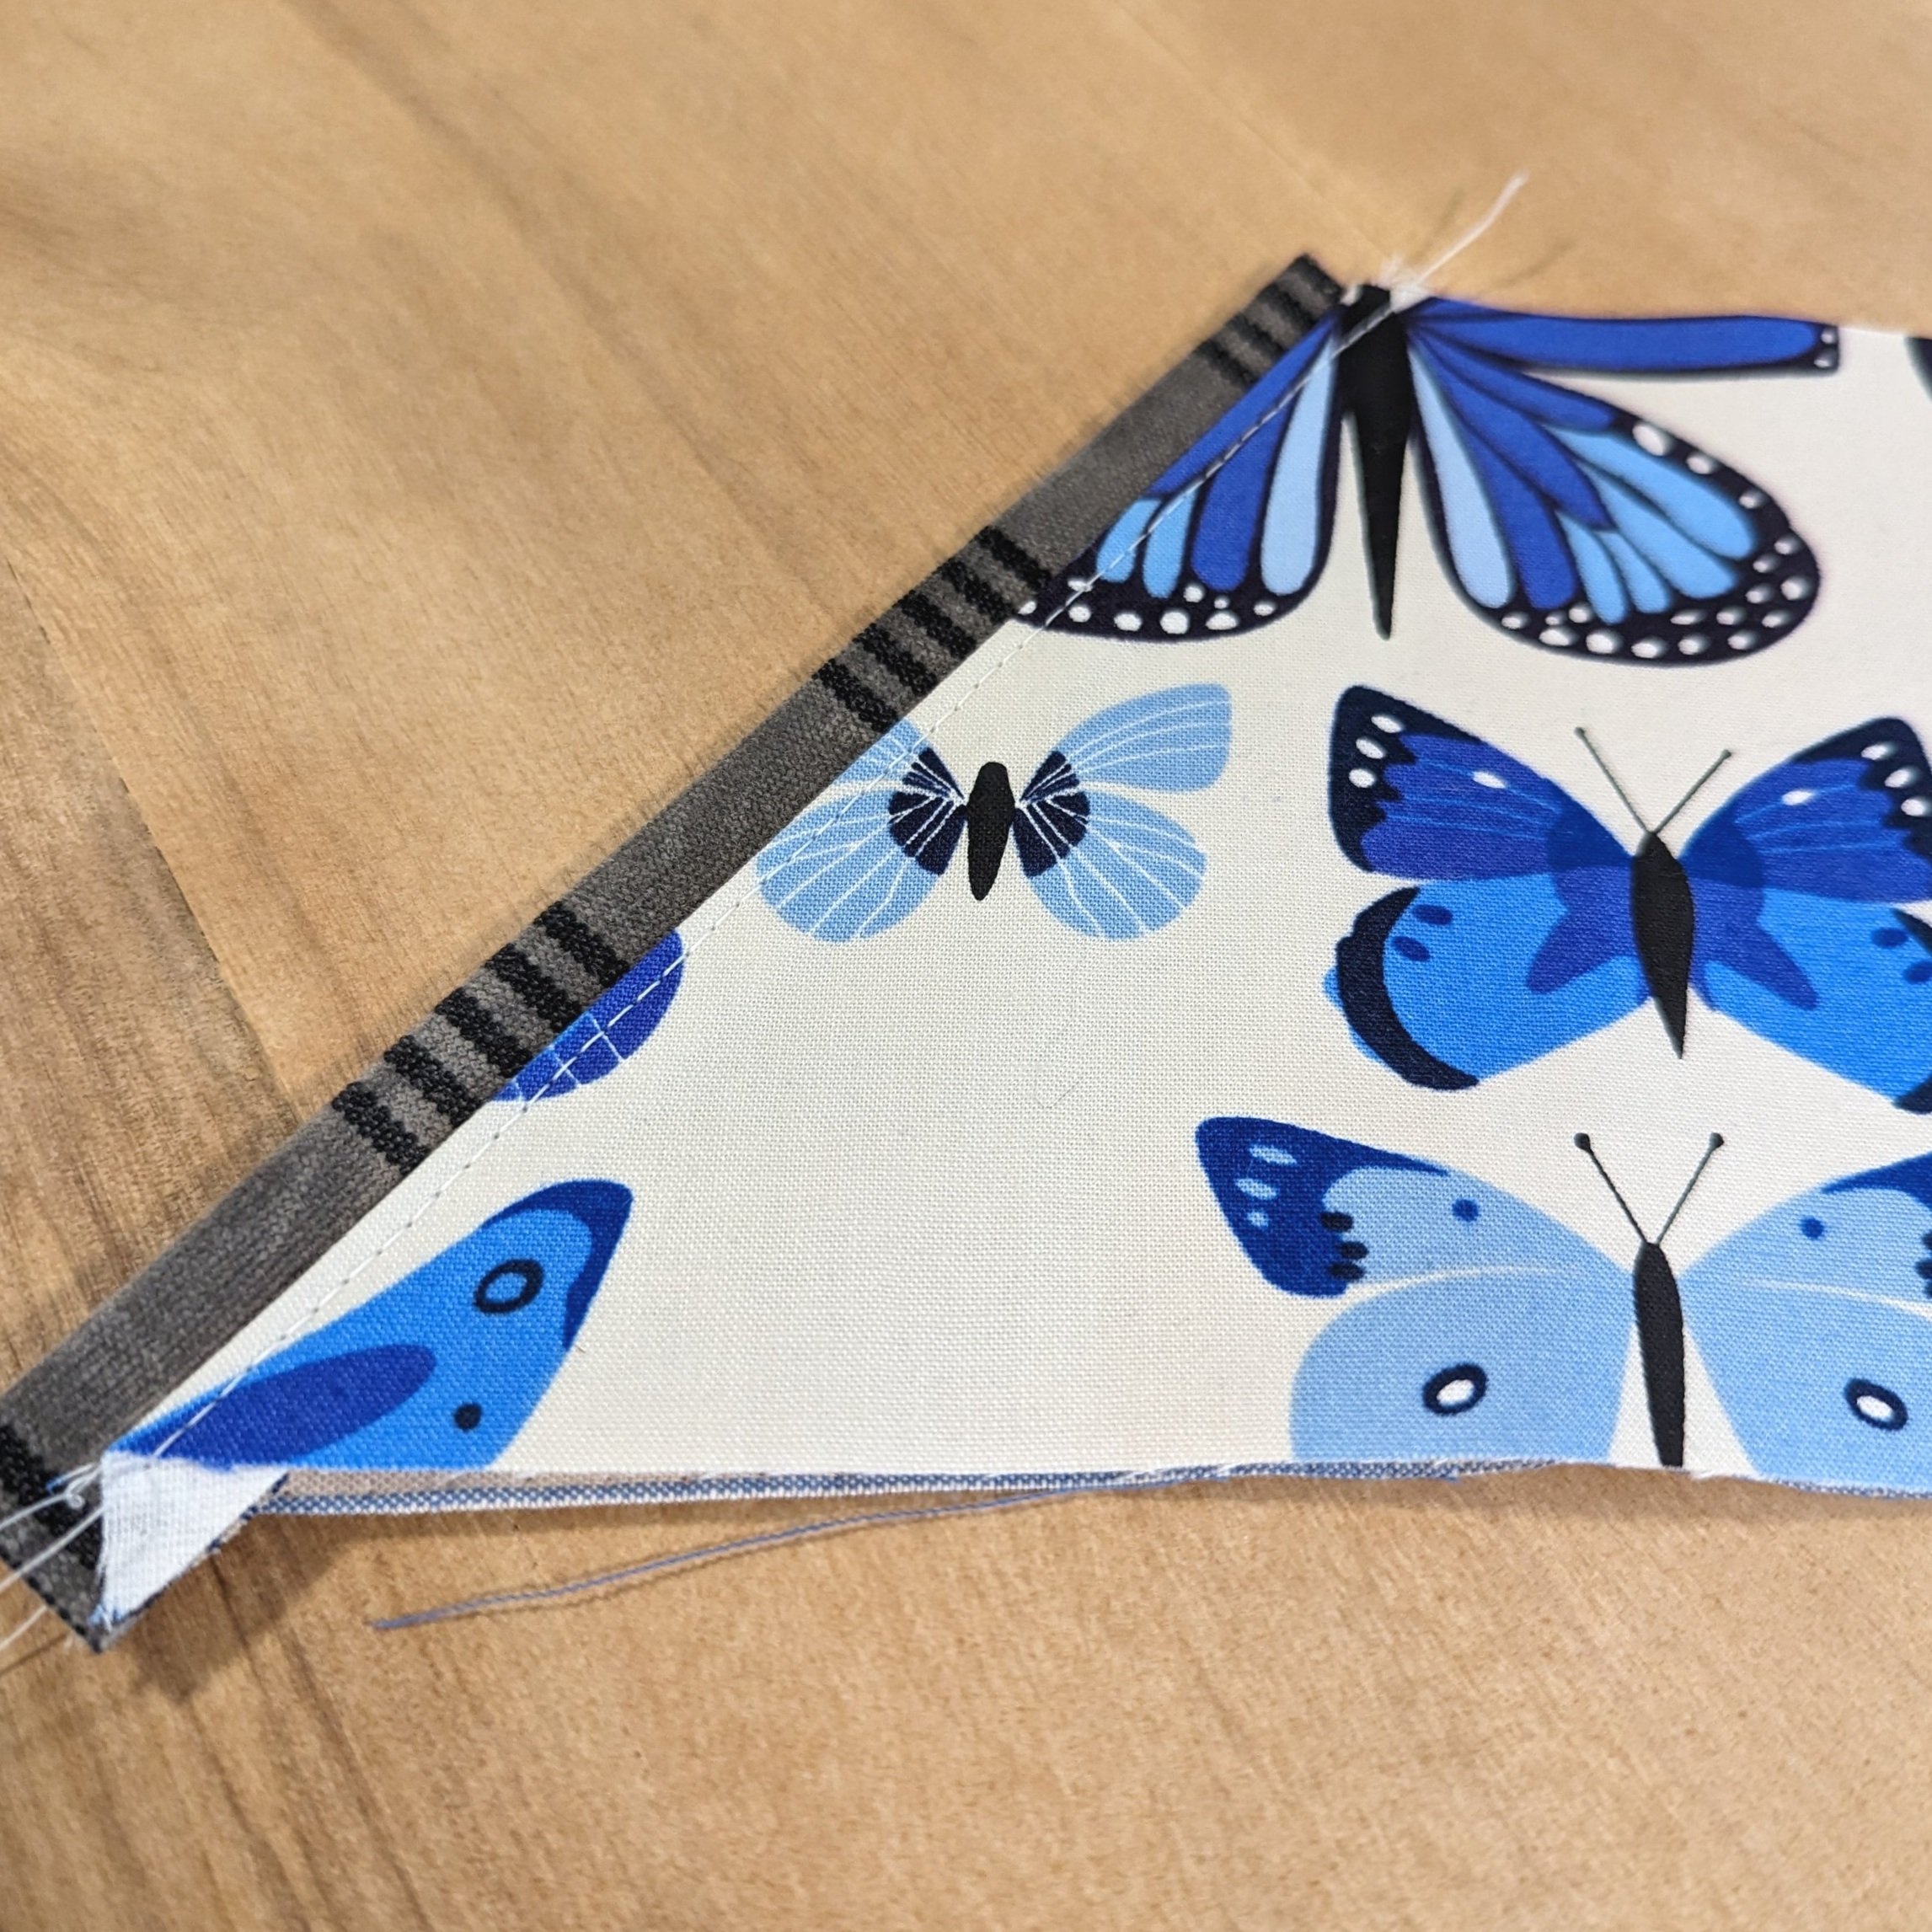
The outer pocket consists of a main, lining, and trim. Fold the trim wrong sides together along its length.
Place the folded trim along the right side of the main pocket angle, raw edges aligned. Then layer the pocket lining over, RST.
Stitch along the angle. Turn right sides out and press. Add top stitching through all the layers as desired.
Next, set the snap as marked on the pocket as well as the corresponding location on one main front. The front exterior is complete.
On to the interior. This portion requires one lining piece, the slip pocket piece, and its interfacing. Fold the pocket piece in half, matching long sides. Unfold and apply the fusible interfacing (per product’s directions) to the wrong side of half of the pocket piece (one side of the fold).
Once interfaced, fold WST again and stitch along the folded edge (pocket top). Layer the pocket over the lining piece, matching the unstitched edge of the prepared pocket to the bottom.
Stitch the pocket to the lining by dividing the slip pocket into sections. Partitions of 2/3 and 1/3 or 1/2 and 1/2 (as shown here) are suggested.
The prepared front exterior’s wrong side matches to the prepared lining, with the pocket bottoms all orienting down. Baste around the outside edges, through all the layers, within the seam allowance.
Round all four corners using the corner rounding template. A few basting stitches may get cut, but the panel remains well connected. This completes the front panel.
Next up- BFF Bag Sew Along: Back Panel


