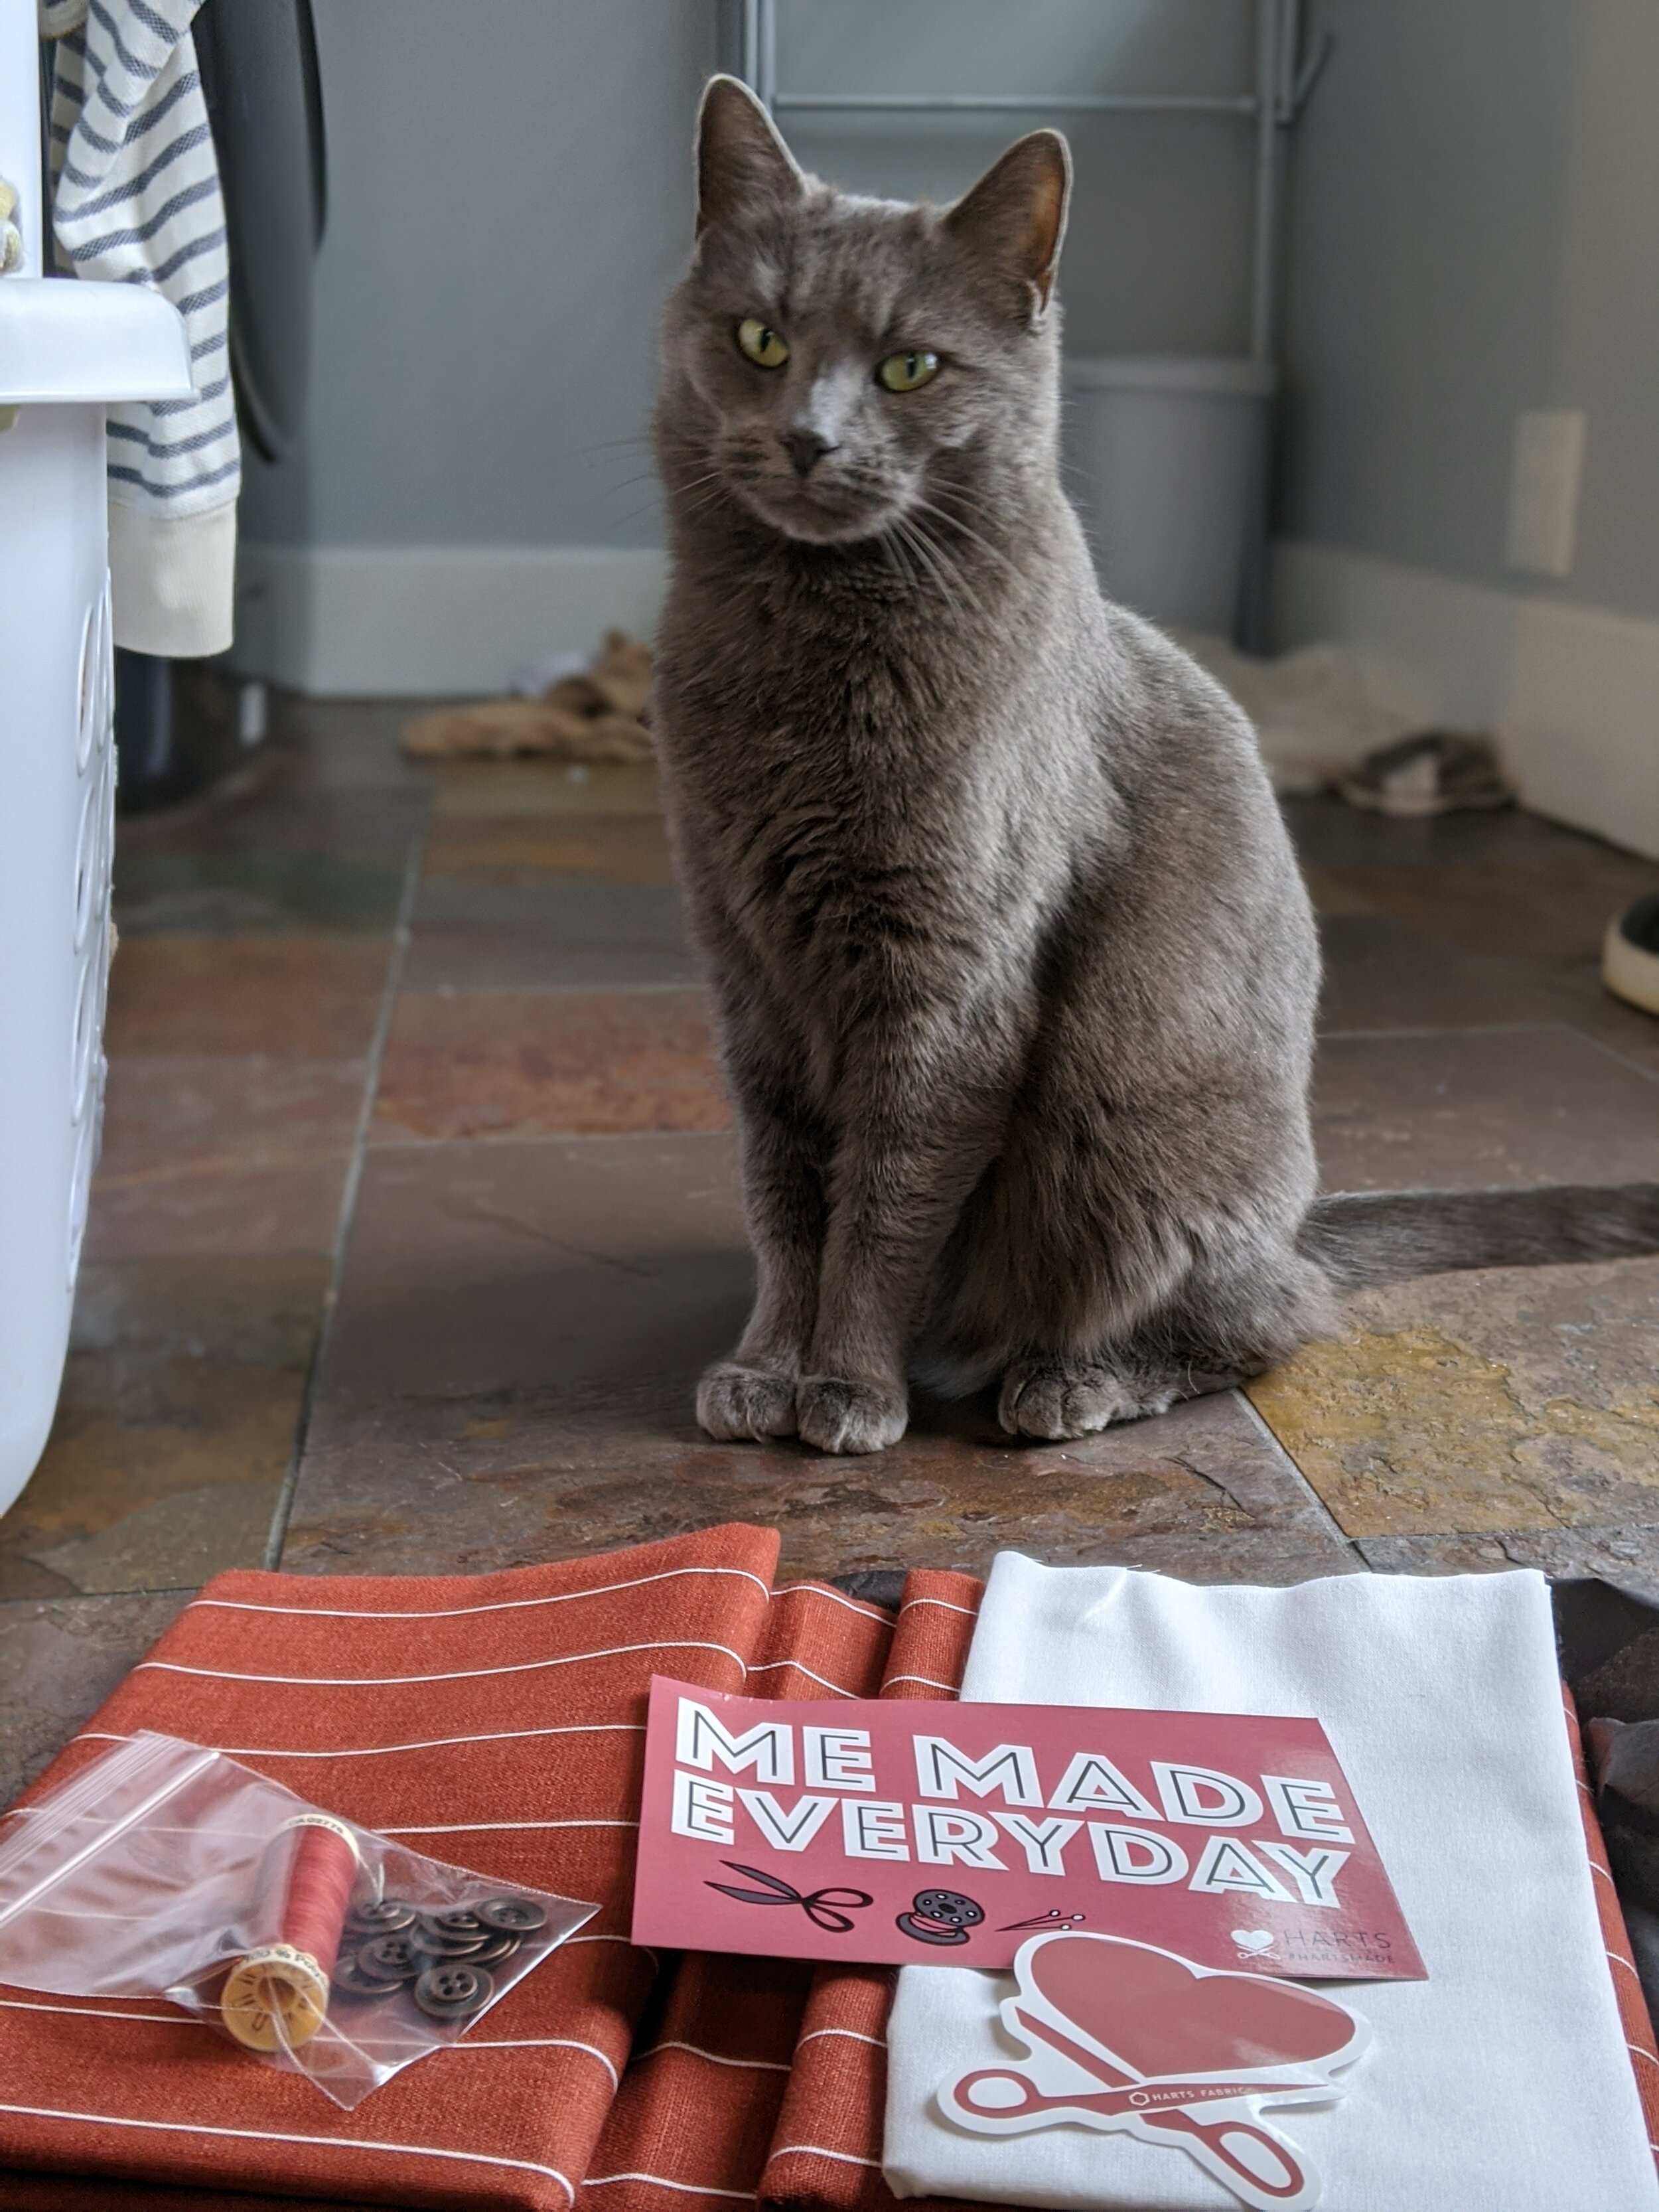
Fabric Mail from Harts is damn good mail, even if my cat gives no f*cks.
I don’t always open my mail on the laundry room floor, but when it’s fabric going straight in the washer. It just makes sense.
That stunning rusty lusciousness you’re eyeing is a linen blend containing rayon with stripes spaced every inch and a quarter, running parallel to the selvedge. (Harts’ listing. There’s grey and blue versions too, if you fancy another color. As well as mustard and green that I did not see available before!) I was genuinely impressed with the softness of this material (hello, 70% rayon) and I love its earthy hand. Harts babe, Alexis*, suggested I try the Deer and Doe Melilot pattern, which I hadn’t previously sewn.
*She might be biased since she’s president of Club Melilot.
Melilot line drawing
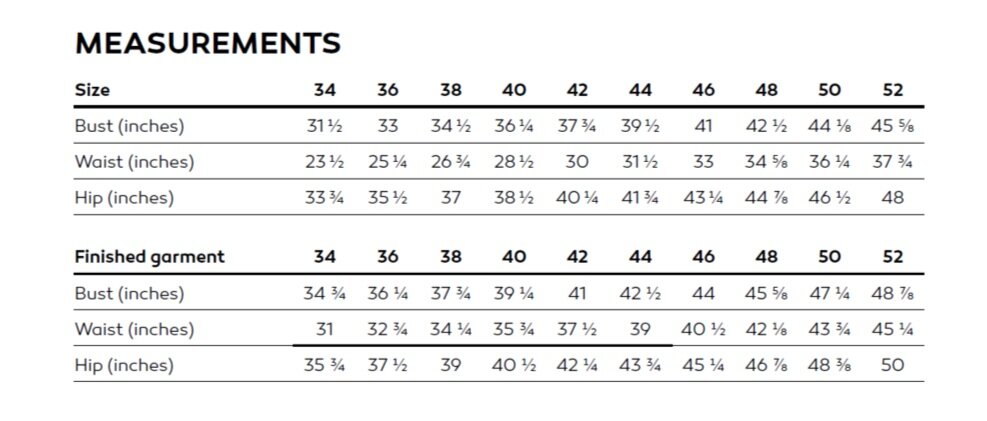
I chose straight size 42 based on a bust measurement of 37” (waist 29” and hip 39”) with long sleeves since it’s December (baby, it’s cold outside).
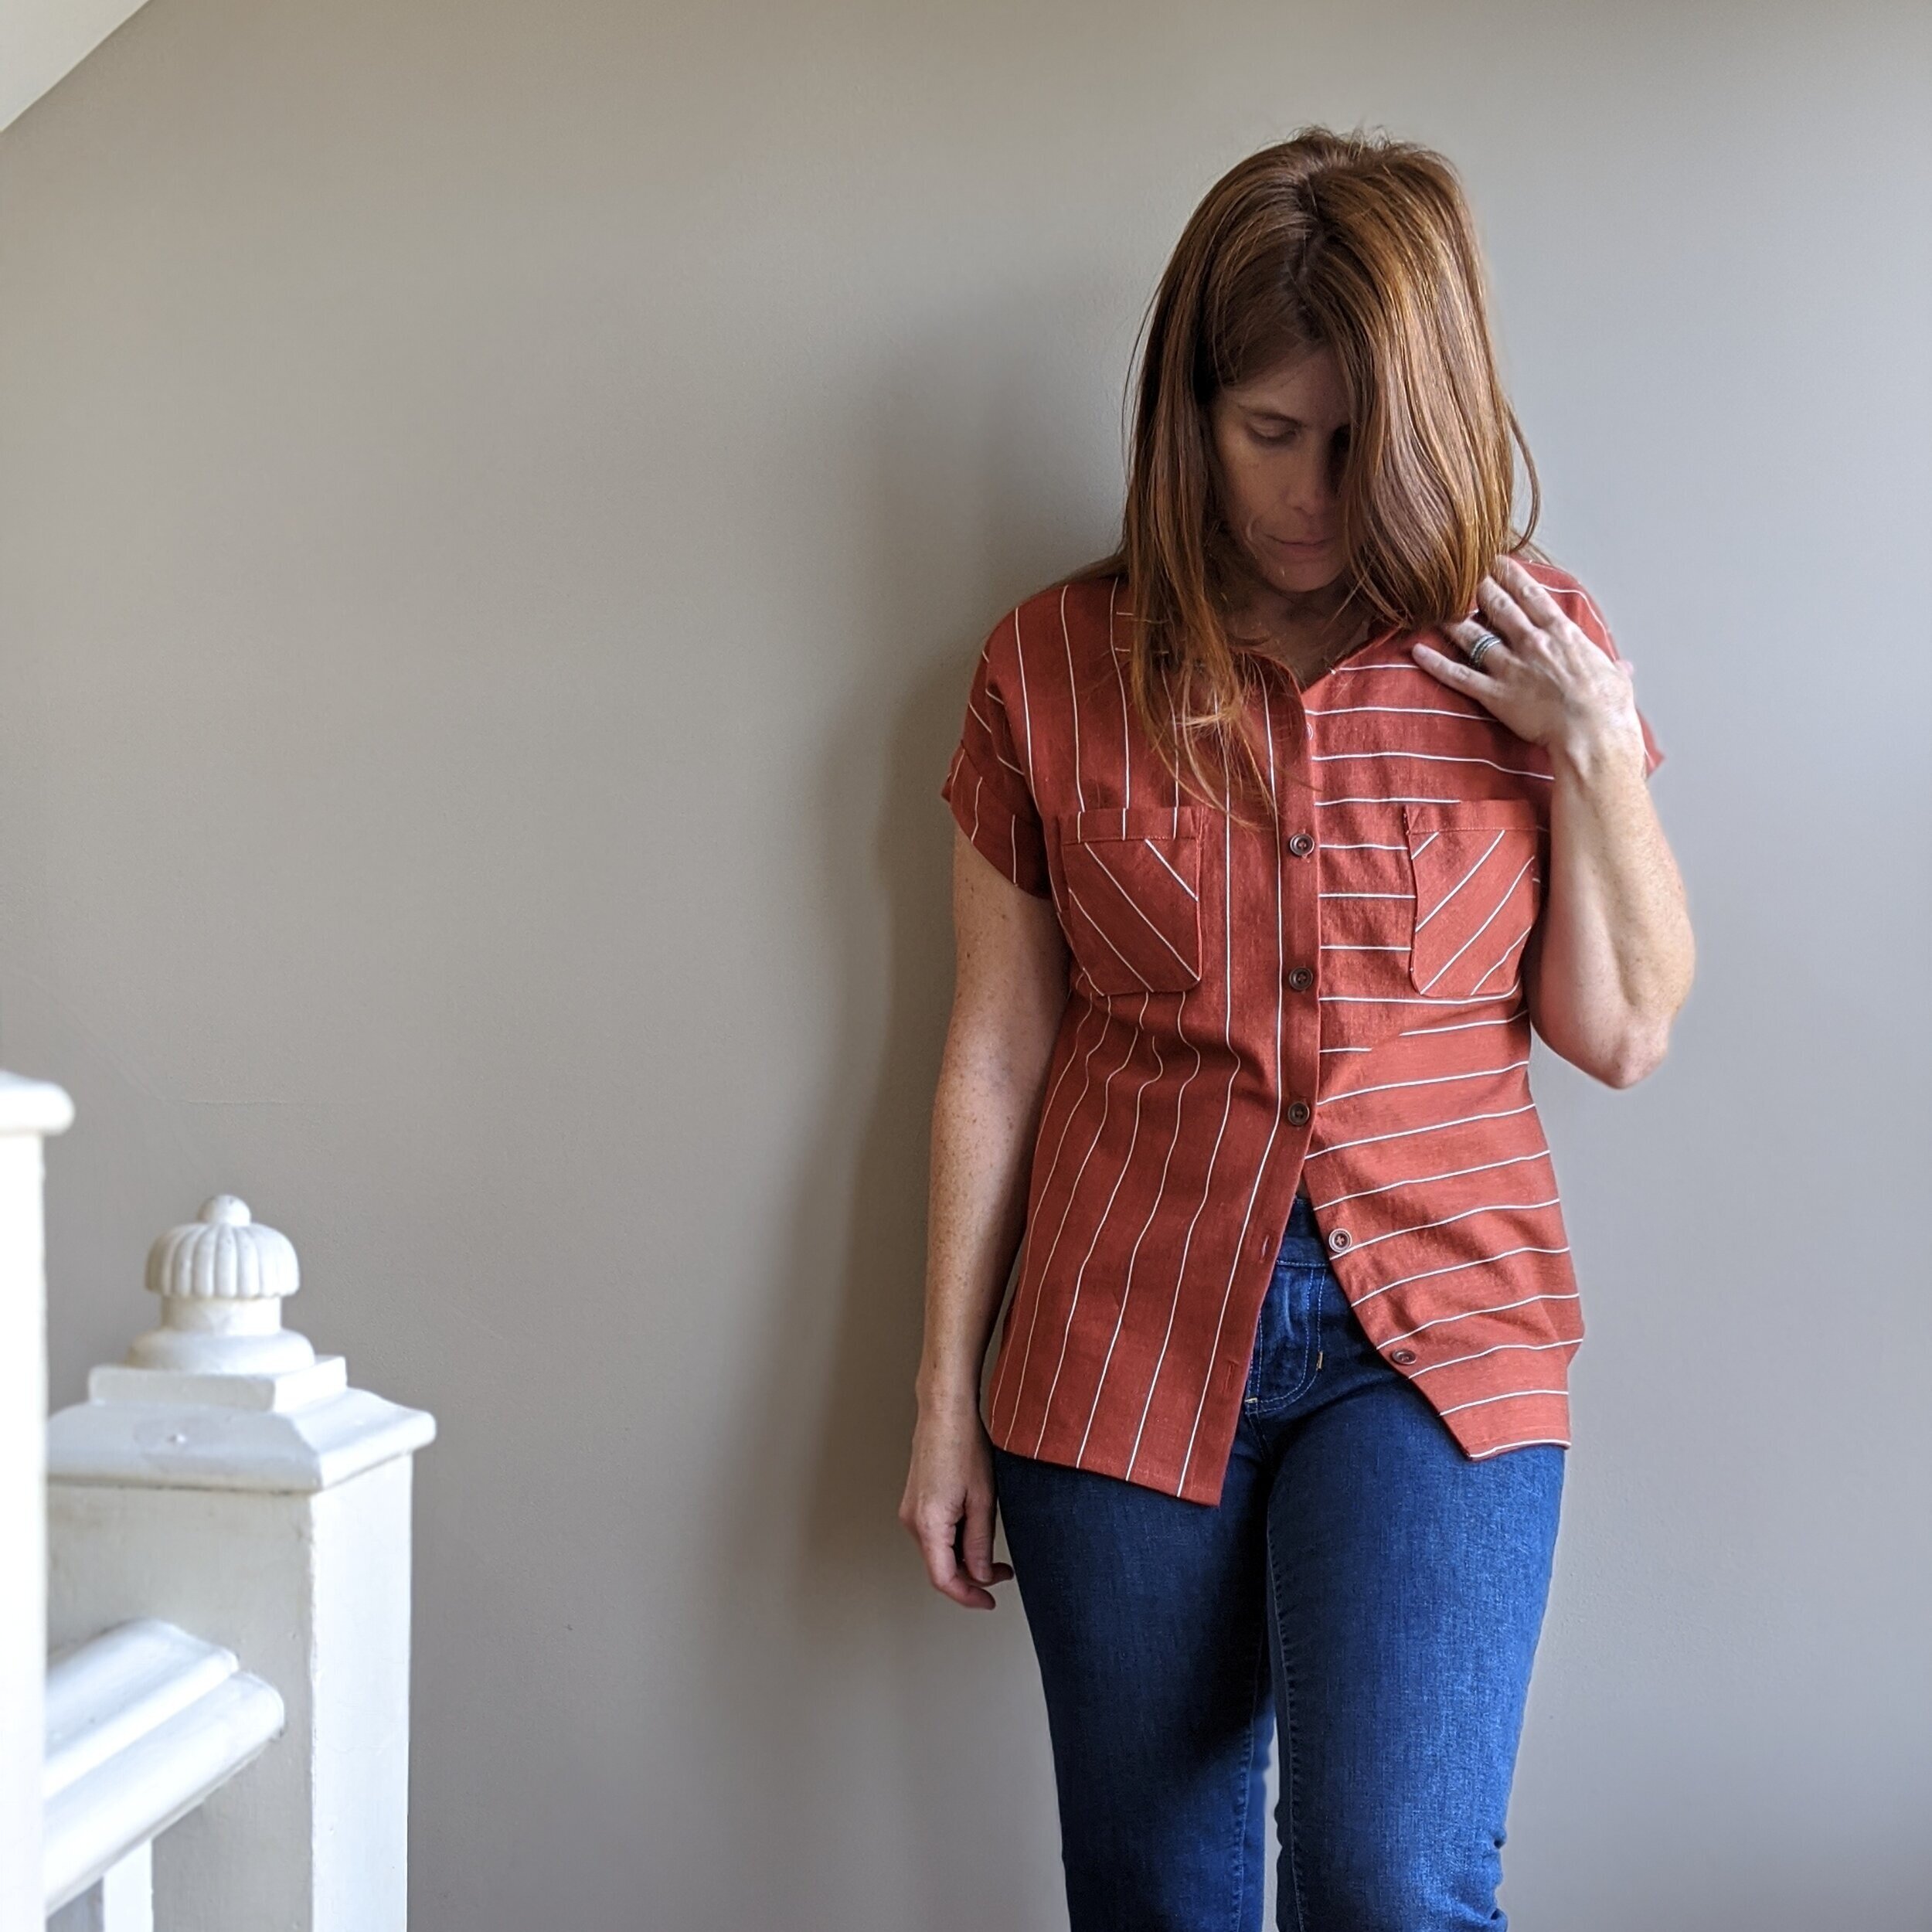
I decided I wanted to play with the stripes, so I cut the fronts, sleeves and pockets, alternating the direction of the stripes, horizontal and vertical. This took way too much brain power.
(pocket variation 1)
And I wasn’t quite sure I really liked the look. #facepalm
I took to Instagram for research. The sleeveless version certainly seems to be more prevalent on IG under the tag #ddmelilot. And that’s when this incredible version by @eglantineetzoe caught my eye.
While that one is particularly wonderful mine just didn’t seem to have hit the same note. My followers (and style advisor extraordinaire, Gwyn), quite overwhelming, prefered the sleeveless.
I hate when they’re right.
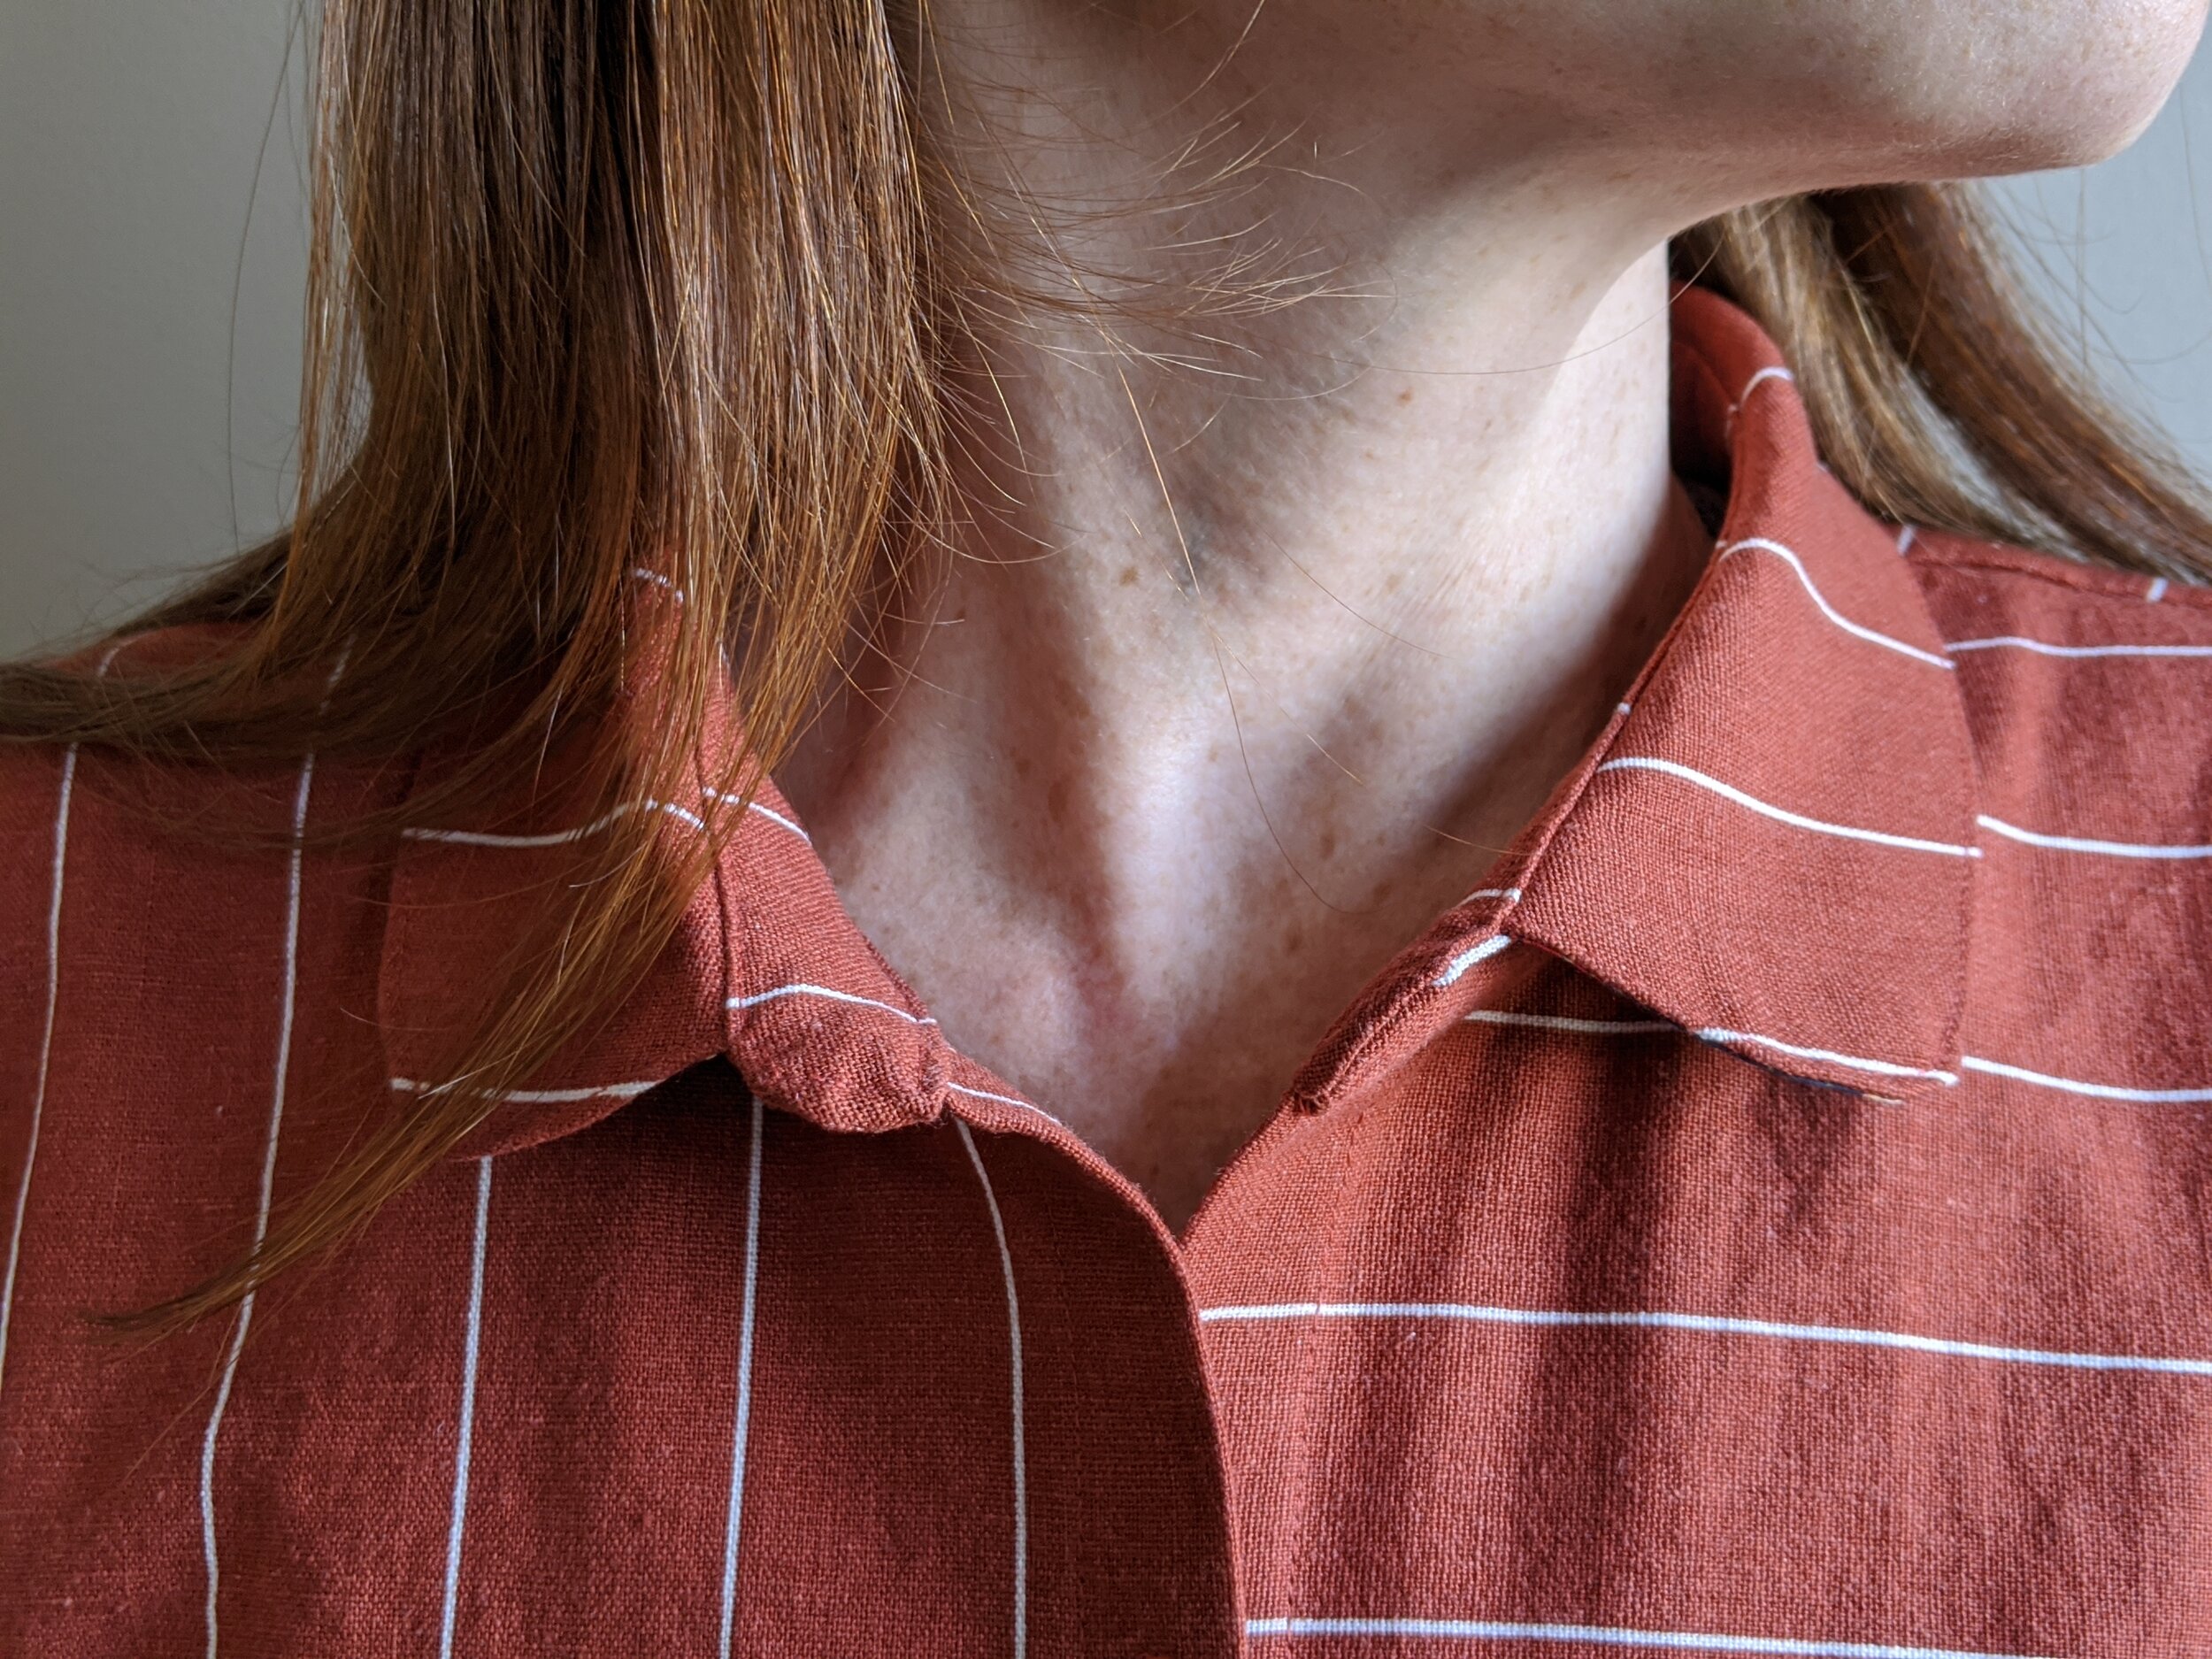
I sewed one of the tower plackets on a long sleeve anyway. They were already cut, so why not? They truly are one of my favorite things to sew. I found the pattern instructions a bit hard to follow for this part. If I hadn’t already sewn tower plackets, I would have really struggled here. As Cheyenne was the first button up shirt I made, I’m particularly fond of the tower placket in that pattern. See the bottom of this sew along. The placket on Melilot is more bulky at the point too as the top isn’t shaped to minimize this. Ultimately this is why I love trying different patterns and from a variety of designers. There’s always a different approach to learn and you can form your preferences based on your experience.
I also departed from the collar assembly slightly. I prefer to interface only one side of the stand and collar, specifically the outer stand and the upper collar. I also like to sew the outer collar stand to the right side of the blouse first, so that my final stitching is done with the inner collar stand on top. The outer stand sits under the collar so not one sees the stitching there.
That generous 5/8” seam allowance means there’s French seams and, boy, does she look tidy inside.
Now, there’s one more thing I changed. That’s the cuff on the sleeveless view. Because this cuff is a simple rectangle, it leads to what I’m calling a “boink.” The cuff sticks out from the body at an odd angle; it’s obvious when you’re looking for it and even somewhat apparent on the line drawing.
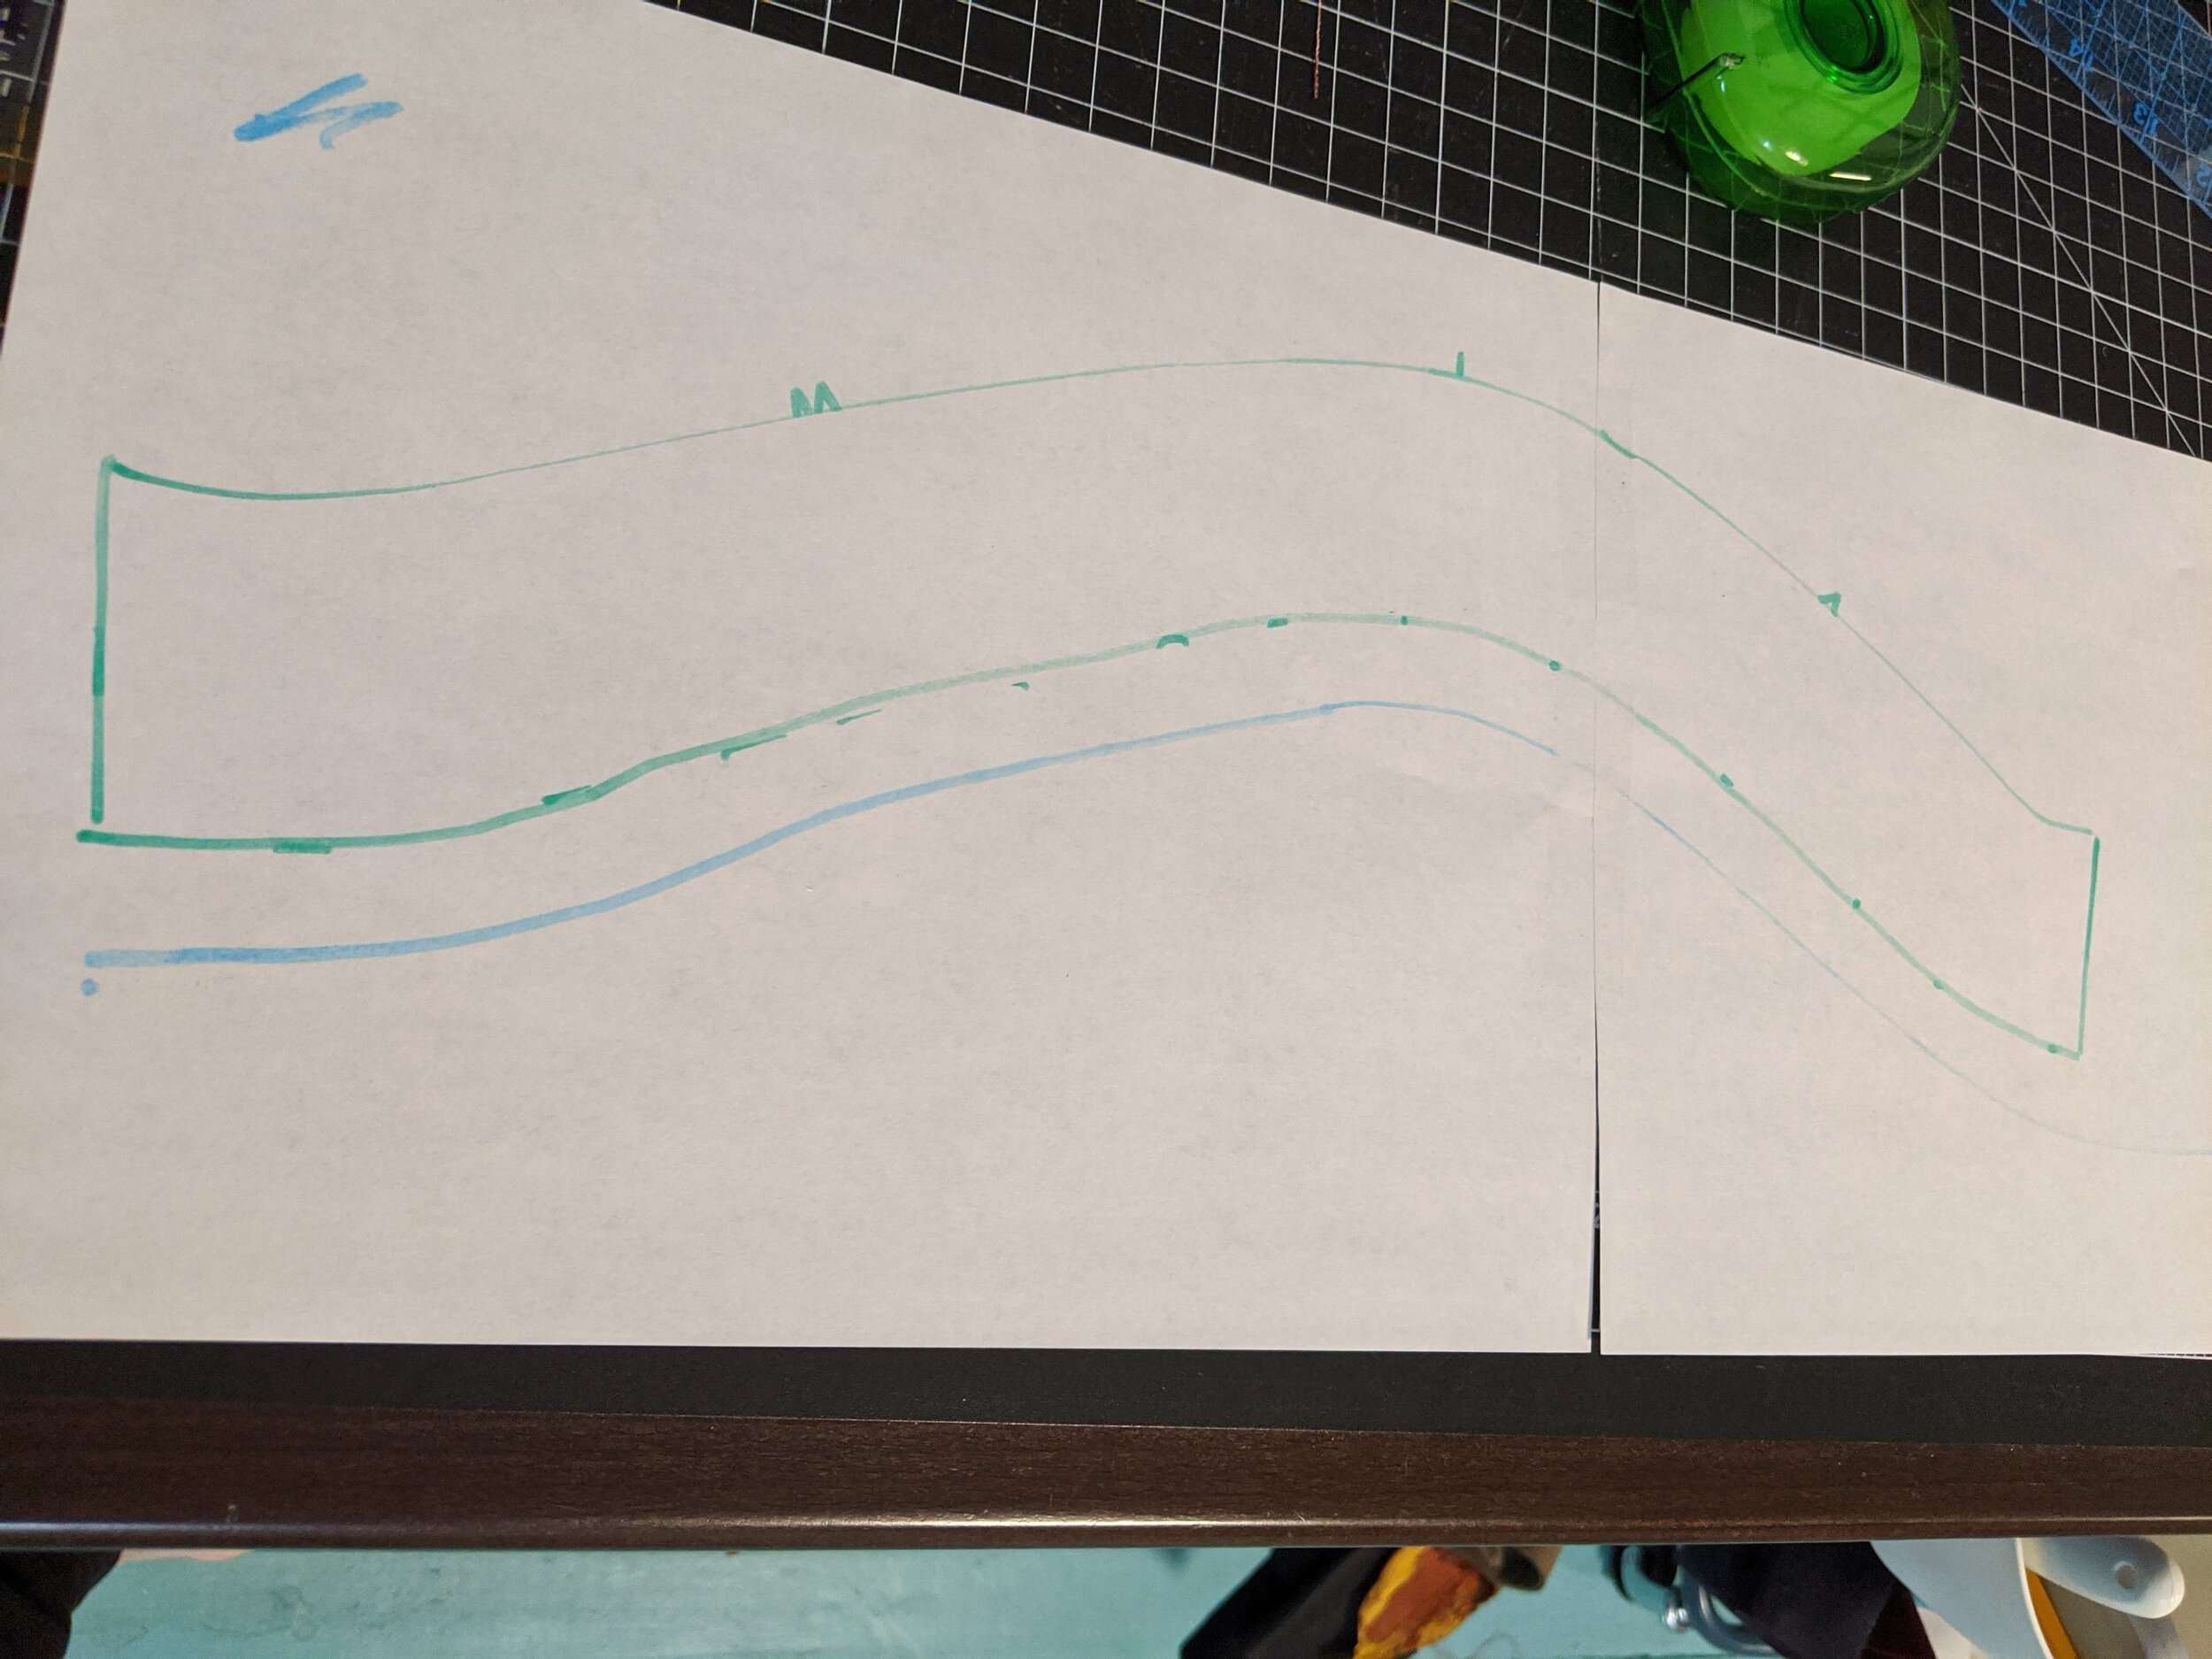
To avoid the boink, I drafted a new faced cuff from the long sleeve. Basically, it keeps the shape of the sleeve cap and finishes 2 inches wide (green lines). I added a seam allowance (blue line) at the bottom to attach the mirrored facing. (Cut 2 sets.) These are otherwise sewn on in the same manner as the original cuff.
No boink here!
pocket variation 4
Hey, so I have no clue if my approach is the “correct” way to handle that design line I wasn’t fond of, but it’s what I tried based on my very limited drafting education (read: none).
Ultimately, I’m rather happy with my first Melilot! The fit is pretty great (I think) and the drape of this linen blend is quite nice. The design is right up my alley. Previously, I’ve had to smoosh 2 different patterns together to achieve this style combination of drop shoulder, collared button up top.
I love the overall length and especially love the hem shape. The darts were actually in a good place without adjustment for my apex (which I often need to lower darts to match).
photo credit- hubs
Surprise! I snuck a teensy bit of Liberty in on the undercollar.
Bonus action shot- sneezing.
worn with my favorite pair of Ginger jeans
Lastly, it is somewhat noteworthy that I considered another title for this post: The Time I Moved The Pockets Eight Times.
(pocket variation 3)
And that really isn’t much of an exaggeration. The picture above wasn’t even the last time I moved them. All my fault, of course. I just kept changing my mind about the stripe orientation. (Oh and there’s the one time I sewed one of the pockets a full inch lower than the other. *shrugs) Each time, I even sewed the extra triangles at the top for stability. It really isn’t a terrible idea to baste or pin pockets in place. I’m looking at you, Loni.
In the end they were actually sewn with the bias-cut lining to the outside.
And I’m glad I made a short sleeve/sleeveless version. It means I don’t have to rotate this top out of my closet come summer (and obviously I can layer her now). I mean how cute are the hem and collar peeking out of this wrinkled rtw sweater? (It’s cashmere. Thanks for asking.)
I love sampling new fabrics and patterns as part of the Harts Street Team.
Thank you, Harts! I can’t wait for our next sewing adventure together.
label by Kylie and the Machine
ETA- I finally found the Instagram post that I remember having seen many months ago addressing this same issue! (I’ve been saving bathroom inspiration images lately.) I had saved the post afterall, but I thought the shirt I was looking for was blue or green. When the first image turned out to be pale pink, I can see why my eyes had skipped over it when skimming.
Since I couldn’t find this post when I was looking for it, I’m happy to see it looks like we both took the same approach. Hooray for sewcial sewing!


